How to install Pi-Hole on Raspberry Pi 4 with docker
Here is a quick and easy tutorial to install and run pi-hole on a raspberry pi 4 using docker. Step by step instructions.
Here is a quick and easy tutorial to install and run pi-hole on a raspberry pi 4 using docker. Step by step instructions.
How to install Pi-hole on a Raspberry Pi 4 using Docker. This Setup will also restart the Pi-Hole Docker Container after an reboot.
Set up your Raspberry Pi 4:
Install the latest version of Raspberry Pi OS on your Raspberry Pi 4.
Ensure that your Raspberry Pi 4 is connected to the internet.
Install Docker:
Open a terminal or SSH into your Raspberry Pi 4.
Run the following command to install Docker:
curl -sSL https://get.docker.com | shInstall Pi-hole using Docker:
After Docker installation is complete, run the following command to pull the Pi-hole Docker image:
docker pull pihole/pihole:latestConfigure the Pi-hole container:
Run the following command to create a Docker container for Pi-hole:
docker run -d \
  --name pihole \
  -p 53:53/tcp -p 53:53/udp \
  -p 80:80 \
  -p 443:443 \
  -e TZ="your_timezone" \
  -e WEBPASSWORD="your_password" \
  -v "$(pwd)/pihole:/etc/pihole/" \
  -v "$(pwd)/dnsmasq.d:/etc/dnsmasq.d/" \
  --restart=unless-stopped \
  --cap-add=NET_ADMIN \
  pihole/pihole:latest
Replace your_timezone with your desired timezone (e.g., "Europe/Berlin") and your_password with your desired Pi-hole web interface password.
Access the Pi-hole web interface:
Open a web browser and navigate to http://<your_raspberry_pi_ip>/admin.
Login with the password you set in the previous step.
Configure your devices to use Pi-hole:
In your router's settings, set the DNS server to the IP address of your Raspberry Pi 4.
Alternatively, you can manually configure each device to use the Pi-hole IP address as its DNS server.
That's it! You have successfully installed Pi-hole on your Raspberry Pi 4 using Docker. Pi-hole will now block ads and provide network-wide ad-blocking capabilities for your devices. Remember to periodically update the Pi-hole blocklists for optimal ad-blocking performance.
The DynDNS service of IPv64.net is free of charge and usable in all common routers and systems.
You have the choice between many different domain names.
The IPv64.net Healthchecks monitor your services, servers and endpoints. Receive notifications when your services fail.
This monitoring service is free with all features.
Registration with IPv64 is free of charge and immediately available for you.

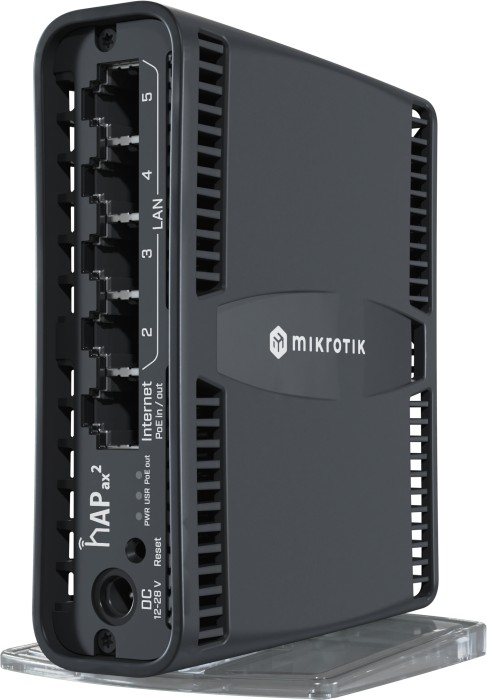
| MikroTik RouterBOARD hAP ax² (C52iG-5HaxD2HaxD-TC) ~ 83.88 € Show me |

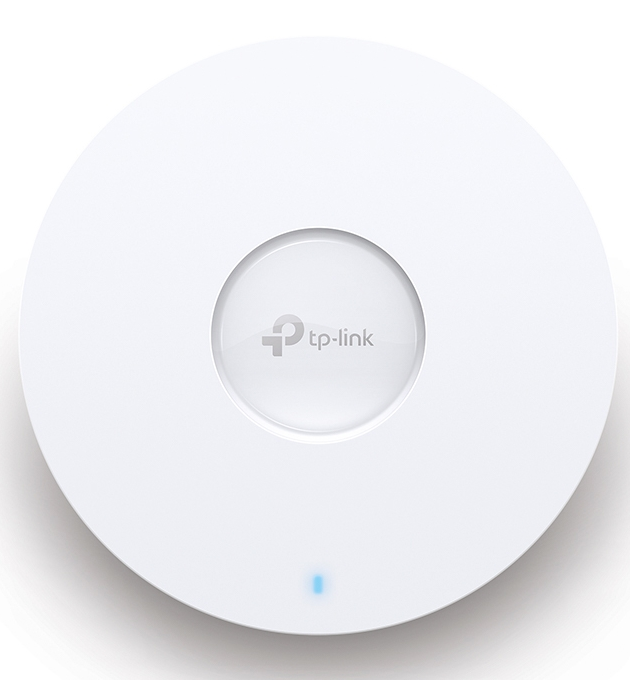
| TP-Link Omada EAP653, AX3000 ~ 84.99 € Show me |