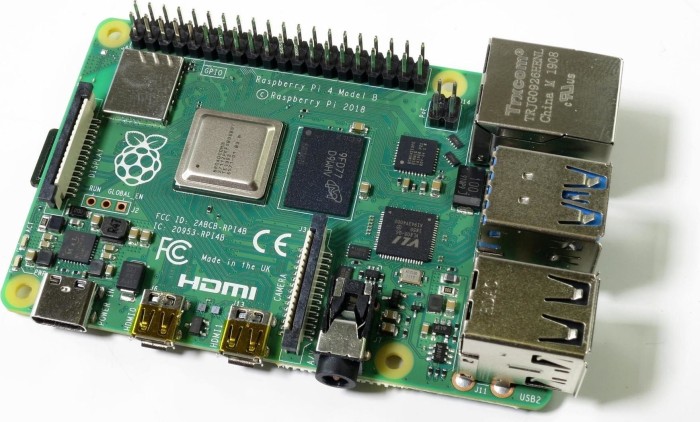
Raspberry Pi WLAN Hotspot Setup: Step-by-Step Guide
Learn how to transform your Raspberry Pi 4 into a powerful WLAN hotspot with this comprehensive step-by-step guide.
Learn how to transform your Raspberry Pi 4 into a powerful WLAN hotspot with this comprehensive step-by-step guide.
Transform your Raspberry Pi into a versatile WLAN hotspot with this easy-to-follow tutorial. Whether you want to share your internet connection or create a local network, this guide will help you set up a Raspberry Pi as a WLAN hotspot. Optimize search engine visibility with this SEO-optimized tutorial.
Prerequisites:
Raspberry Pi with Raspbian OS
Access to the internet (via Ethernet or another Wi-Fi connection)
A Wi-Fi adapter compatible with Raspberry Pi (if not built-in)
Step 1: Update Raspberry Pi:
Ensure your Raspberry Pi is up to date by running the following commands:
sudo apt update
sudo apt upgrade
Step 2: Install Hostapd and dnsmasq:
Install the necessary software packages for creating a WLAN hotspot:
sudo apt install hostapd dnsmasqStep 3: Configure DHCP Server:
Edit the dnsmasq configuration file:
sudo nano /etc/dnsmasq.confUncomment the dhcp-range line and add the IP range you want to assign to connected devices.
Step 4: Configure Hostapd:
Create and edit the hostapd configuration file:
sudo nano /etc/hostapd/hostapd.confAdd the following configuration:
interface=wlan0
ssid=YourNetworkName
hw_mode=g
channel=7
wpa=2
wpa_passphrase=YourPassword
Step 5: Configure Networking:
Edit the networking configuration file:
sudo nano /etc/dhcpcd.confAdd the following lines to the bottom of the file:
interface wlan0
    static ip_address=192.168.4.1/24
    nohook wpa_supplicant
Step 6: Start and Enable Services:
Enable and start the hostapd and dnsmasq services:
sudo systemctl enable hostapd
sudo systemctl enable dnsmasq
sudo systemctl start hostapd
sudo systemctl start dnsmasq
Step 7: Configure IP Forwarding:
Enable IP forwarding by editing the sysctl configuration file:
sudo nano /etc/sysctl.confUncomment the line net.ipv4.ip_forward=1 to enable IP forwarding.
Step 8: Configure NAT (Network Address Translation):
Enable NAT by running the following commands:
sudo iptables -t nat -A POSTROUTING -o eth0 -j MASQUERADE
sudo sh -c "iptables-save > /etc/iptables.ipv4.nat"
Edit the rc.local file to restore the NAT configuration on boot:
sudo nano /etc/rc.localAdd the following line above exit 0:
iptables-restore < /etc/iptables.ipv4.natStep 9: Reboot Raspberry Pi:
Reboot your Raspberry Pi to apply the changes:
sudo rebootConclusion:
By following this guide, you can easily set up a Raspberry Pi as a WLAN hotspot. Share your internet connection or create a local network effortlessly with your Raspberry Pi.
Note: Make sure to adjust the configuration parameters (e.g., network name, password, IP range) according to your preferences and requirements.
The DynDNS service of IPv64.net is free of charge and usable in all common routers and systems.
You have the choice between many different domain names.
The IPv64.net Healthchecks monitor your services, servers and endpoints. Receive notifications when your services fail.
This monitoring service is free with all features.
Registration with IPv64 is free of charge and immediately available for you.

| Raspberry Pi 4 Modell B, 4GB RAM ~ 58.90 € Show me |

| TP-Link Omada EAP660 HD, AX3600 ~ 211.31 € Show me |