Setting Up VLANs in Linux - /etc/network/interfaces
Learn how to configure VLANs in Linux using both the command line and the /etc/network/interfaces file for flexibility and convenience.
Learn how to configure VLANs in Linux using both the command line and the /etc/network/interfaces file for flexibility and convenience.
Virtual LANs (VLANs) provide network segmentation and management flexibility in Linux. In this comprehensive guide, we'll walk you through the process of setting up VLANs using both the command line and the /etc/network/interfaces file. We'll also demonstrate how to configure a VLAN with an assigned IP address, empowering you to effectively manage your network infrastructure.
Check VLAN Support:
Ensure that your Linux distribution supports VLANs by verifying the availability of the 8021q module:
sudo modprobe 8021q
lsmod | grep 8021q
Create and Activate VLAN Interface:
Create a VLAN interface associated with a physical network interface (e.g., eth0) and assign a VLAN ID (e.g., VLAN 100):
sudo ip link add link eth0 name eth0.100 type vlan id 100
sudo ip link set dev eth0.100 up
Configure IP Address:
Assign an IP address to the VLAN interface (e.g., 192.168.1.100/24):
sudo ip addr add 192.168.1.100/24 dev eth0.100Test Connectivity:
Verify the VLAN configuration and test connectivity by pinging a device within the VLAN or external networks:
ping 192.168.1.1
ping google.comEdit the Interfaces File:
Open the /etc/network/interfaces file using a text editor:
sudo nano **/etc/network/interfaces**Add VLAN Configuration:
Add the following lines to define the VLAN interface (e.g., eth0.100) and assign an IP address (e.g., 192.168.1.100/24):
auto eth0.100
iface eth0.100 inet static
    address 192.168.1.100
    netmask 255.255.255.0
Save and Exit the File.
Restart Networking Service:
Restart the networking service to apply the changes:
sudo systemctl restart networkingThe DynDNS service of IPv64.net is free of charge and usable in all common routers and systems.
You have the choice between many different domain names.
The IPv64.net Healthchecks monitor your services, servers and endpoints. Receive notifications when your services fail.
This monitoring service is free with all features.
Registration with IPv64 is free of charge and immediately available for you.

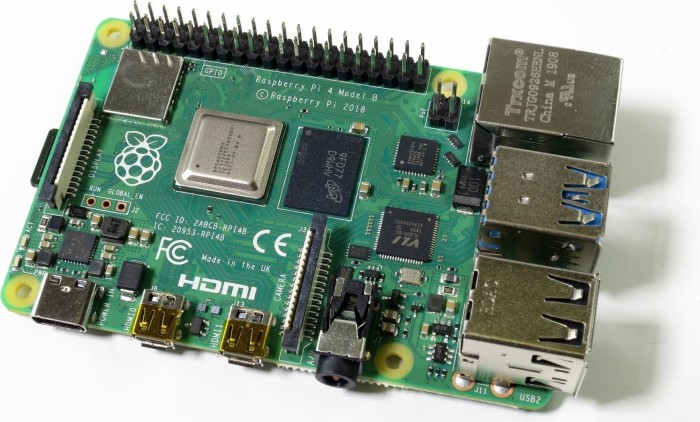
| Raspberry Pi 4 Modell B, 8GB RAM ~ 78.90 € Show me |

| TP-Link Omada EAP653, AX3000 ~ 84.99 € Show me |